
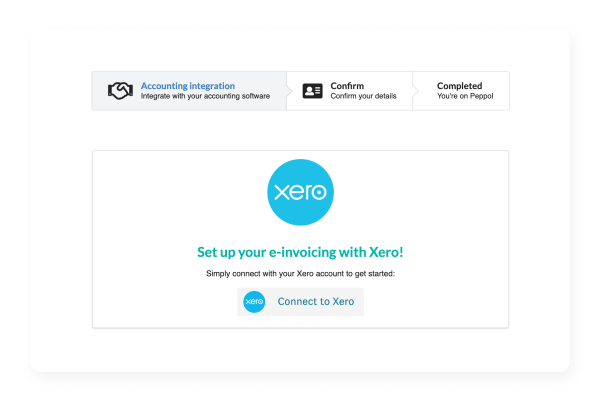
Step 1
Visit the Invoici site and navigate to the integration page. (https://connect.invoi.ci/signup/integrate) and click Connect to Xero. Log in to Xero using your Xero credentials.
Step 1
Visit the Invoici site and navigate to the integration page. (https://connect.invoi.ci/signup/integrate) and click Connect to Xero. Log in to Xero using your Xero credentials.
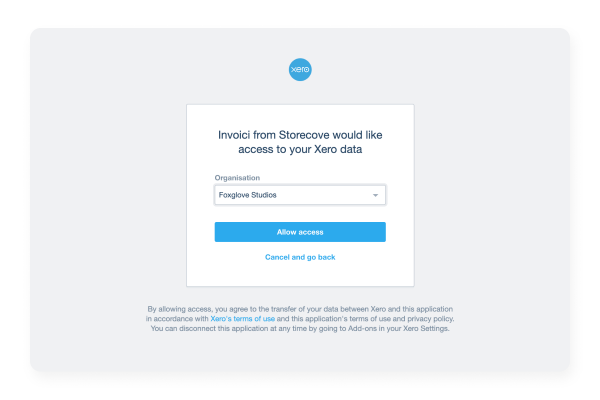
Step 2
Click Allow access and choose the Xero organization to connect to Invoici.
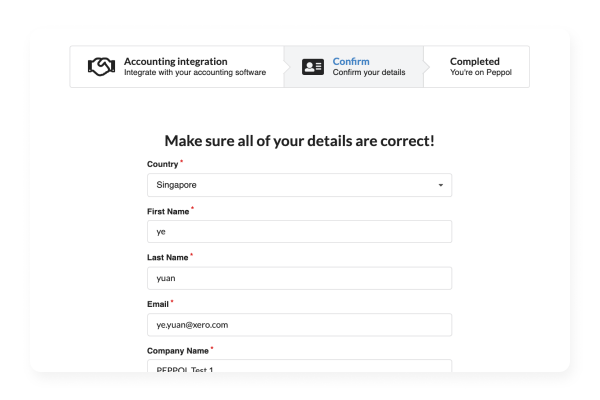
Step 3
Invoice collects organisational information from your Xero organisation. Review this information and ensure that a unique company identifier is entered in the appropriate field. This should be your organisation’s UEN (Unique Entity Number).
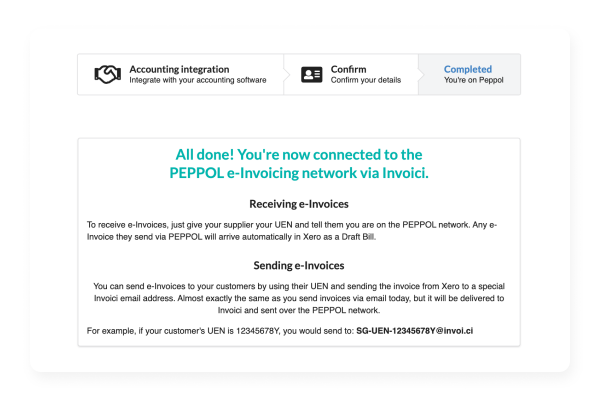
Step 4
Once you’re happy the information is correct, tick the checkboxes and click Confirm Details.
You’ll see confirmation that your Xero organisation is now connected to the Peppol e-invoicing network.
Step 1
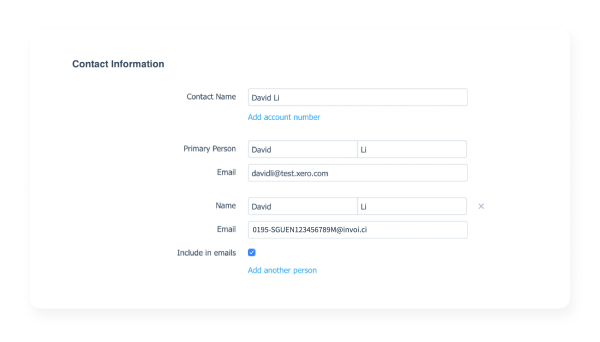
When you’re ready to send an invoice to your customer(s), select the email option and enter your contact’s e-invoicing email address. This is a unique @invoi.ci address that contains the organisation’s UEN, e.g. 0195-SGUEN123456789M@invoi.ci where 123456789M is the UEN.
Tip: Add your contact’s e-invoicing email address to the contact record in Xero.
If an email already exists, select Add another person and enter the email as a secondary address and check the box Include in emails.
Step 2
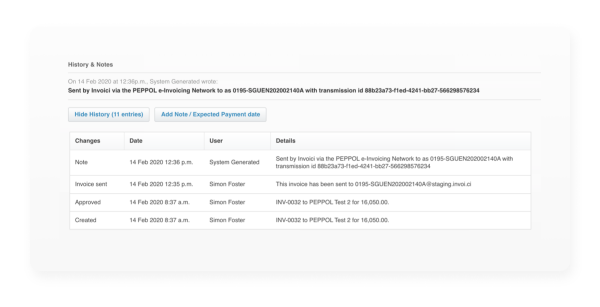
All invoices sent via the e-invoicing network will show a confirmation message along with a unique transmission ID in the History & Notes section.
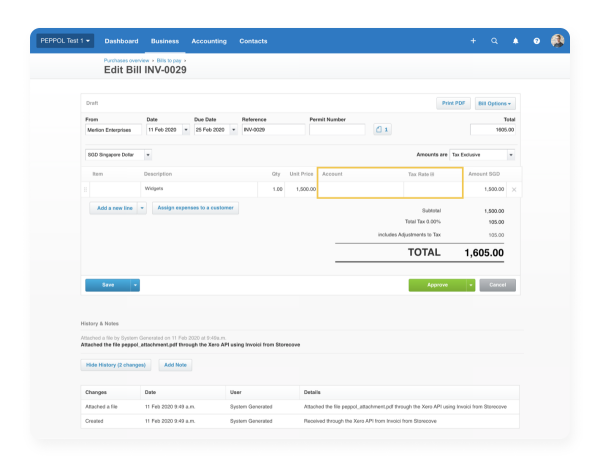
If you receive a bill (an invoice from your supplier) via the e-invoicing network, the bill will be created in a draft status. Review the bill, assign an appropriate chart of account code (eg Sales) and tax rate, and approve.
Effective 1st Nov 2024, Timcole Advisory Pte Ltd has been renamed to HeySara Accounting Pte Ltd